How to Build a Gravel Shed Pad Foundation with Road Base
When investing in a new prefab wooden or metal storage shed, nothing is more critical to its longevity than a flat, well-drained, and solid foundation. Placing a shed directly on bare turf, concrete blocks, or loose uncompacted garden gravel leads to sagging skids, sticking doors, warped roof trusses, and premature wood rot.
A timber-framed, compacted road base gravel pad provides superior drainage, freeze-thaw stability, and weight distribution at a fraction of the cost of a poured concrete slab.
1. Why a Road Base Pad Outperforms Concrete & Deck Blocks
- Excellent Drainage: Crushed stone allows rain blowing off roof eaves to drain instantly away from wooden floor joists, preventing rot and moisture buildup.
- Freeze-Thaw Resistance: Unlike rigid concrete slabs that crack when frost heaves shifting soils, a dense-graded granular base flexes without structural failure.
- Cost Efficiency: A DIY timber gravel pad costs roughly $4 to $7 per square foot in materials, compared to $12 to $20+ per square foot for a professionally poured concrete slab.
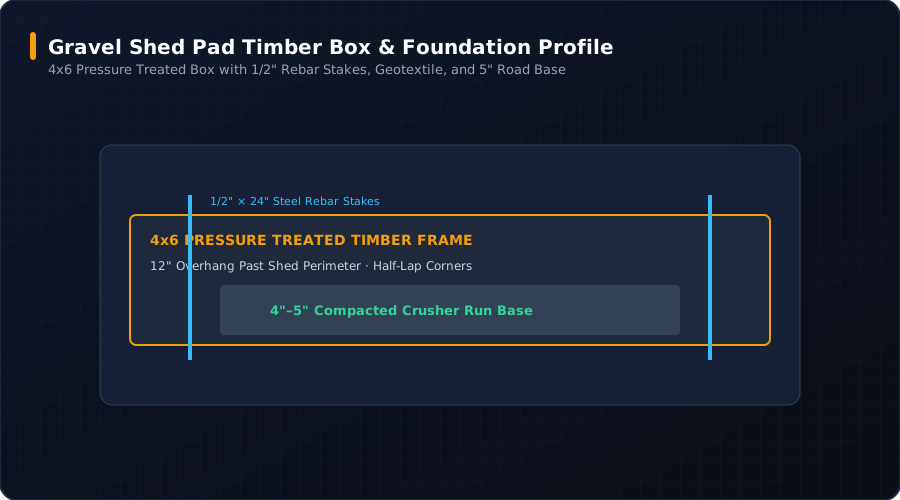
2. Sizing the Pad: The 12-Inch Perimeter Rule
Never build your gravel pad the exact same dimensions as your shed footprint.
The 12-Inch Rule: Always extend the timber frame 12 inches (1 foot) beyond the shed walls on all four sides.
- If your shed is 10 ft × 12 ft, build your gravel pad 12 ft × 14 ft.
- If your shed is 12 ft × 16 ft, build your gravel pad 14 ft × 18 ft.
Why the 12-Inch Overhang is Essential:
- Roof Runoff Splashing: Catchment gravel absorbs water dripping from roof overhangs without splashing muddy soil against bottom siding boards.
- Edge Load Stability: Prevents corner skids from resting on the fragile, sloping outer edge of the pad.
- Mowing & Trimming Clearance: Creates a clean perimeter around the shed, keeping weed trimmers away from wooden siding.
3. Step-by-Step Construction Guide
Step 1: Layout & the 3-4-5 Square Method
- Mark out the four corners of the pad using wooden batter boards and mason line.
- Verify squareness using the 3-4-5 Pythagorean triangle method: measure 3 feet along one side and 4 feet along the adjoining side. The diagonal must measure exactly 5 feet (or 6-8-10 ft for larger pads).
- Confirm that both corner-to-corner diagonal measurements are identical.
Step 2: Excavation & Slope Management
Excavate organic sod and topsoil down to solid mineral subgrade (typically 4 to 6 inches deep).
- On Flat Ground: Dig a uniform 5-inch trench across the entire footprint.
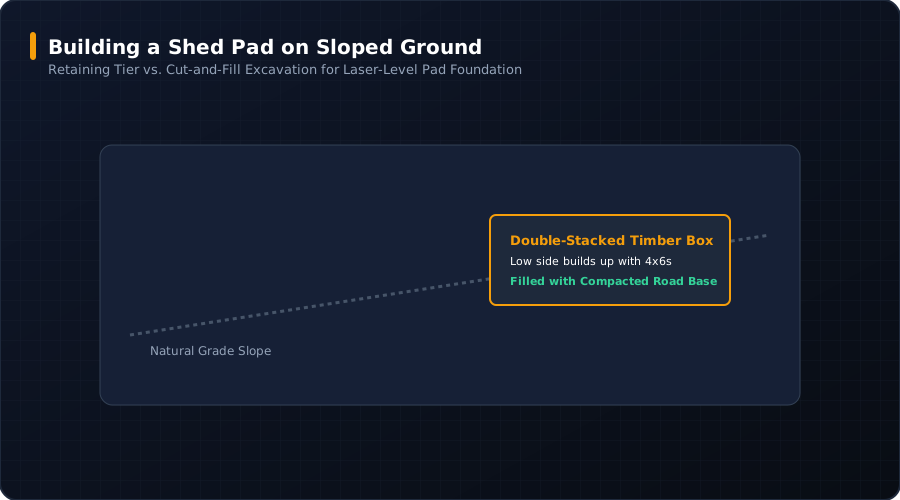
- On Sloped Ground: Never build up the high side with loose fill. Dig into the high side (cut) and build a tiered, double-stacked timber retaining wall on the low side (fill).
Step 3: Building the Timber Perimeter
- Use pressure-treated ground-contact 4×6 or 6×6 lumber.
- Fasten corner joints with half-lap notches or 10-inch heavy TimberLOK structural screws.
- Level all four perimeter timber rails using a 4-foot spirit level or rotary laser level.
- Drill 1/2-inch holes through the timbers every 4 to 6 feet and drive 24-inch to 30-inch lengths of 1/2-inch steel rebar into the ground to permanently anchor the timber box against frost and soil movement.
Step 4: Geotextile Fabric Installation
Line the entire bottom of the excavation with a woven geotextile fabric (such as 200W). Extend the fabric up the inside walls of the timber frame and staple in place. This prevents weed growth and stops base rock from sinking into subgrade clay.
Step 5: Placement & Compaction of Road Base
- Fill the frame with 4 to 5 inches of Crusher Run (3/4” Minus) or ABC Stone.
- Spread the material evenly using a landscaping rake.
- Lightly mist the stone with water until it reaches Optimum Moisture Content (damp to the touch).
- Run a vibratory plate compactor over the stone in a cross-hatch pattern for at least 4 passes until the surface is rock-solid and flush with the top 1 to 2 inches of the timber border.
- (Optional Finishing Layer): Spread a 1-inch top dressing of clean 1/2-inch crushed limestone or pea gravel to create a clean, dust-free walking surface around the shed.
4. Material & Cost Estimation Chart
| Shed Dimensions | Pad Dimensions (12” Overhang) | Pad Area (sq ft) | Road Base Required (Tons @ 5” Depth) | 4×6 Timber Perimeter (Linear Feet) |
|---|---|---|---|---|
| 8 ft × 10 ft | 10 ft × 12 ft | 120 sq ft | 3.7 Tons | 44 ft (4 timbers @ 12’) |
| 10 ft × 12 ft | 12 ft × 14 ft | 168 sq ft | 5.2 Tons | 52 ft (2 @ 12’, 2 @ 14’) |
| 10 ft × 16 ft | 12 ft × 18 ft | 216 sq ft | 6.7 Tons | 60 ft (2 @ 12’, 2 @ 18’) |
| 12 ft × 16 ft | 14 ft × 18 ft | 252 sq ft | 7.8 Tons | 64 ft (2 @ 14’, 2 @ 18’) |
| 12 ft × 20 ft | 14 ft × 22 ft | 308 sq ft | 9.5 Tons | 72 ft (2 @ 14’, 2 @ 22’) |
| 14 ft × 24 ft | 16 ft × 26 ft | 416 sq ft | 12.8 Tons | 84 ft (2 @ 16’, 2 @ 26’) |
Calculate your exact pad dimensions and aggregate weights with our Master Road Base Calculator and explore compaction guidelines in our Plate Compactor Guide.
Civil Estimating & Geotechnical Engineering Review
Peer-VerifiedFormulas, density conversions, and lift recommendations are modeled after AASHTO M147 (Materials for Aggregate and Soil-Aggregate Subbase) and ASTM C33/D2922 standards. Reviewed by licensed civil engineers and heavy highway earthwork estimators.
Material & Application Specific Calculators
Access dedicated estimating pages tailored to specific quarry materials, regional state specifications, and project foundations.